
I have recently seen many posts selling furniture that say, "Painted with Annie Sloan Chalk Paint". My immediate thought was Chalkboard paint and I didn't get it. Apparently I have been living under a rock because I am just now hearing about it. The moment I started researching it I knew I would have to try it out on something, anything.
You cannot find her paint at your Lowe's or Home Depot, but instead in boutiques and crafty antique type stores. To avoid shipping costs I packed up Bumble and Hoot and we trekked out to the closest location. I wanted to see everything in person. I knew there would be examples, brushes, paints, etc. and I needed to see more than what I could just online.
Now, this paint is NOT cheap. I believe one liter was $36. For those of you used to the latex paint at your local Lowe's I may have just lost you and I understand that! However, according to the Annie Sloan site it says, "Chalk Paint® sticks to just about any surface... wood, concrete, metal, matt plastic, earthenware and much more, inside and outside the home. It dries fast too so you can add second or third coats quickly, and start enjoying your
revitalised walls, floors and furniture sooner." Another huge claim is that with chalk paint you can forget needing to sand your piece of furniture or prime it. A WIN-WIN in my book. I was also told that the paint really goes a long way and depending on your project you may not even need more than one coat.
Well, I was still a little skeptical, but my mind was totally set on doing this so after researching a hundred different methods of using her paint I went to this cute boutique and bought the paint, a brush, the dark wax, and the soft clear wax (more on that later).
Nearly five years ago, before Bumble arrived, my husband and I went to Babies R Us and picked out a dresser that would match Bumble's crib. I liked it because it matched her crib, but I always thought we would change out the knobs at some point down the road to "revamp" it, especially if we decided to keep it for ourselves. As soon as Hoot arrived we bought another dresser that I fell in love with and when we moved recently we decided Bumble's dresser would now be in our room. When I saw this paint I knew that this dresser would be my first project.

I chose the paint "Old Ochre" after looking at the different sample boards they had in the store. Oh and I will say that this paint REALLY does go a long way. What they say is true :)


Okay, after doing a lot of research and listening to a lot of "pros" I decided to buy this little chunky waxing brush. Some say you can do this with a towel, an old paintbrush, etc. Do your research and make your own decision. However, I will say that I felt like I got a very even coat of my clear wax using this brush. It's not cheap, but I figure if I take care of it, use it on multiple pieces of furniture, and it saves me some heartache then it's worth it. That and I didn't feel like driving 45 minutes back out to this boutique to get it later if I needed it.

I decided I may want to keep the top of the dresser and the legs their original color so I went ahead and taped off the top just incase. I first painted a coat of the Old Ochre all over using a regular paint brush. Then, once it dried, I painted a second coat. This second coat I thinned with water, which made it go much further. Honestly, I probably could have stopped there, but I wasn't 100% sure on the look I wanted so I did another thin coat. If I would have known how much I wanted sanded off in the beginning multiple coats would not have been needed.

Okay, I was only halfway planning on doing a picture "tutorial" on this project so I only halfway took pictures :) Forgive me.
After doing my coats of paint I took my clear wax and put about a tablespoon on a paper plate. I rubbed my wax brush in the clear wax and wiped it in circles on the plate. You just want a THIN layer on your brush. In circular motion, I did square foot sections and then took my clean cloth (old t-shirt, etc.) and cleaned off the extra residue. When you slide your hand across the waxed area it shouldn't have any "drag". I did this on one side and then pulled out my dark wax. The dark wax can be scary, but it's really a lot of fun. I took my palette knife, smeared some across a plate, and mixed in a little of the clear wax. By doing this you will have more time to manipulate your wax and achieve your desired look. If you put dark wax straight onto the paint it will immediately soak in and you will have very little flexibility on where it goes and how your final look will turn out. I took a smaller paint brush and painted into the edges of the furniture. After getting it into the crevices (in one small area) I immediately wiped it off with another clean towel or shirt. I did this whole cycle on each drawer and on both sides. Once it dried I sanded the edges and corners, to give it that more vintage feel. The next day I did another layer of the Clear Soft Wax and buffed it to give it a nice final finish. On a side note, I didn't like the way the sides originally turned out. They were WAY too dramatic. So, I mixed some of the Dark Wax with a tad bit of Mineral Spirits which made a nice glaze. I used that on the sides instead and it turned out so much better.
So to break it down...
*Paint
*Clear Wax coat
*Mix Clear Wax and Dark Wax on plate
*"Paint" Dark Wax in crevices or in open areas (depending on look you want)-be sure to do small areas at a time because it makes it easier to work with!
*Wipe excess Dark Wax off with a clean towel or shirt
*If you want a distressed look, sand the edges and corners that would naturally show wear
*Give it 24 hours to dry and finish with a layer of soft wax following the above instructions. Buff when done. Clear Soft Wax can give your piece a nice sheen, not too glossy, but definitely not matte.

You can see the light sanding and how the legs are still the original color.


I got these fancy knobs at Hobby Lobby when they were half off and I LOVE them. They are exactly the look I wanted!


Don't judge my room because it's not finished, but it's getting there! We moved in about a month ago and it's been fun putting it all together.


We got the blinds last week and hopefully we'll have some curtains soon. One thing at a time :)

Love these ceilings. Thank you Pinterest :)
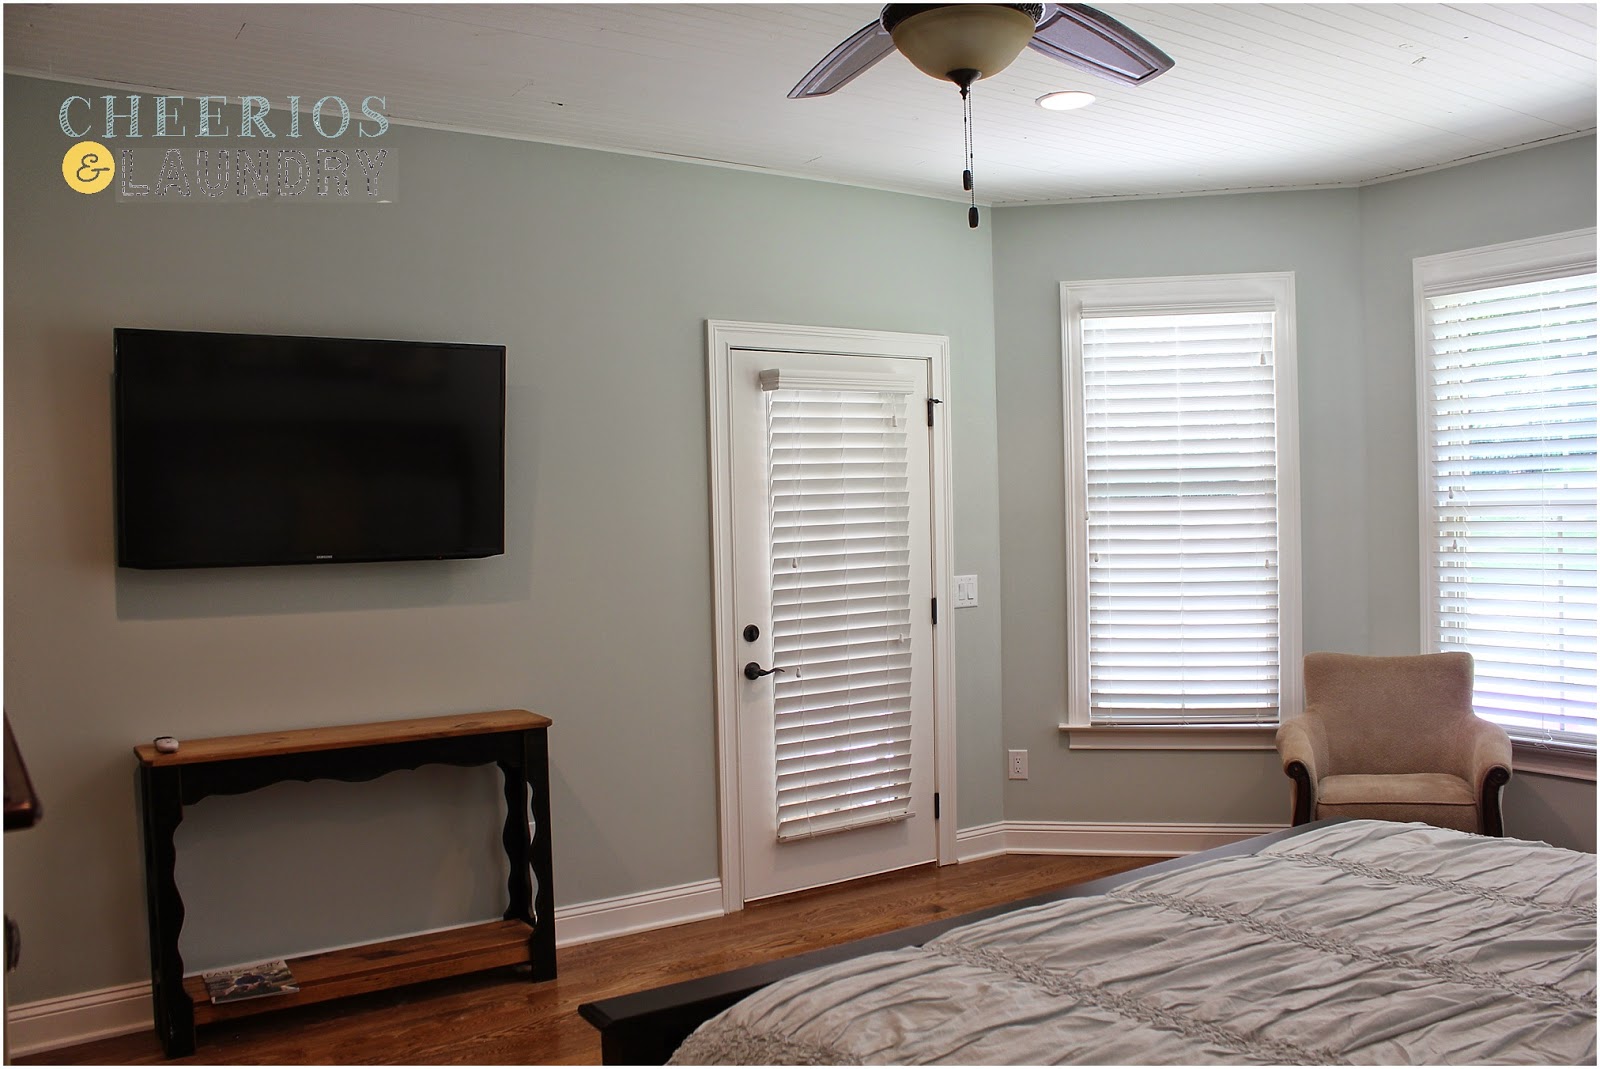

This is the temporary arrangement I threw together, but it works for now!